How to backup your data using Roxio BackOnTrack?
Roxio BackOnTrack Software is awesome software available today for data backup. The whole backup operation consists of three parts. At first all the selected group of files is backed up then restores snap shots are stored for further use of this software and last all the drives are backed up into image files. The Disaster recovery feature creates an environment wherein you can boot even if the system fails to boot using the image drives.
System Requirements for Roxio BackOnTrack
- WINDOWS XP, VISTA.
- RAM 128 MB.
- INTERNET EXPLORER 6.0 or further edition.
- FILE System NTFS.
- For creating disaster recovery CD writer is must.
Taking the Backup Using Roxio BackOnTrack
When you open the software in the welcome window you can see lots of option to select. Also you can see special offer part in the window. In the opening window you have to select Backup Files option. The welcome window is shown in Fig.1 below.
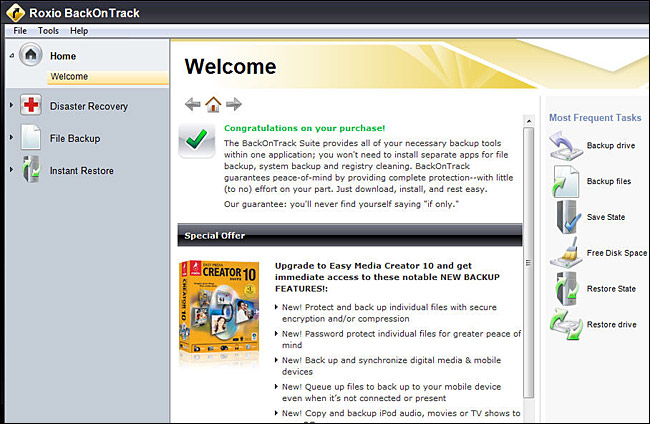
Figure.1 Welcome Window
When you select the backup files option, the backup files wizard will open. The backup file window will display all the steps how to proceed further. After selecting all the options you have to save the whole project. The backup files wizard is shown in Fig.2 below.
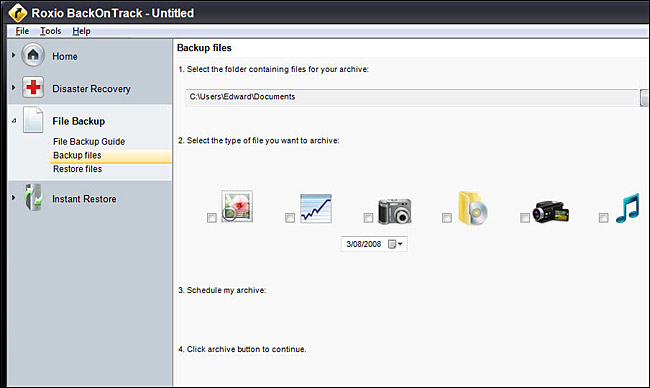
Figure.2 Backup Files Wizard
In the preceding window you have to name and save the whole backup project. The Naming and saving window is as shown in Fig.3 below.
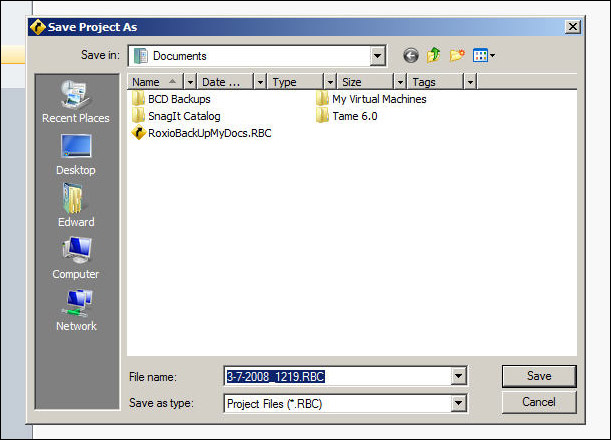
Figure.3 Naming and Saving Window
After you save the project the project is executed and the progress bar is shown in the next window. The progress bar window is shown in Fig.4 below.
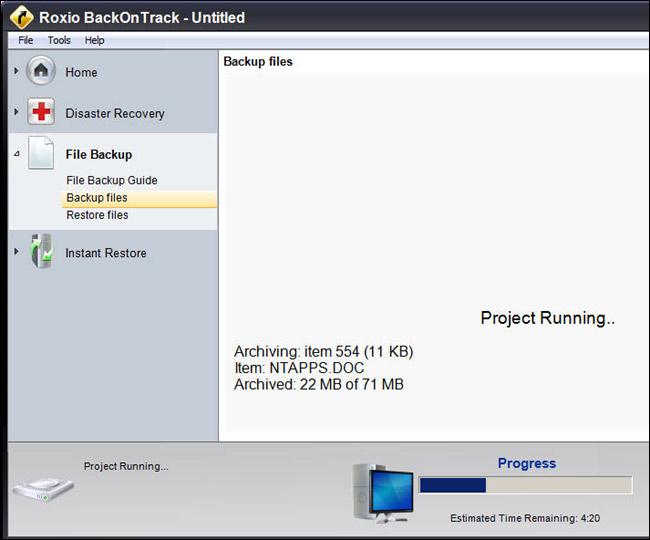
Figure.4 Progress bar Window
For restoring the files you have to select the Restore option on left side in the window shown in Fig.2. The restore wizard will start. The restore wizard is shown in Fig.5 below.
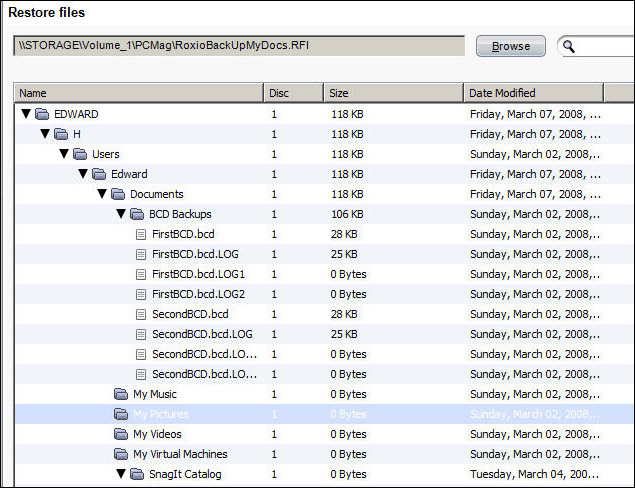
Figure.5 Restore Wizard
In next window you have to select the backup files you want to restore. The selection can be done by clicking the browse button. The file selection window is shown in Fig.6 below.
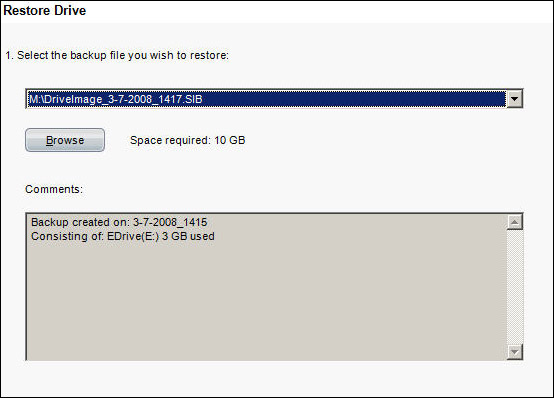
Figure.6 File Selection Window
After the files are selected when you click Ok all the files will get restored.
In such way by its user friendly interface Roxio BackOnTrack has impressed its users. So don’t wait just try it.