Verbatim PhotoSave DVD: how to backup your photos in three easy steps
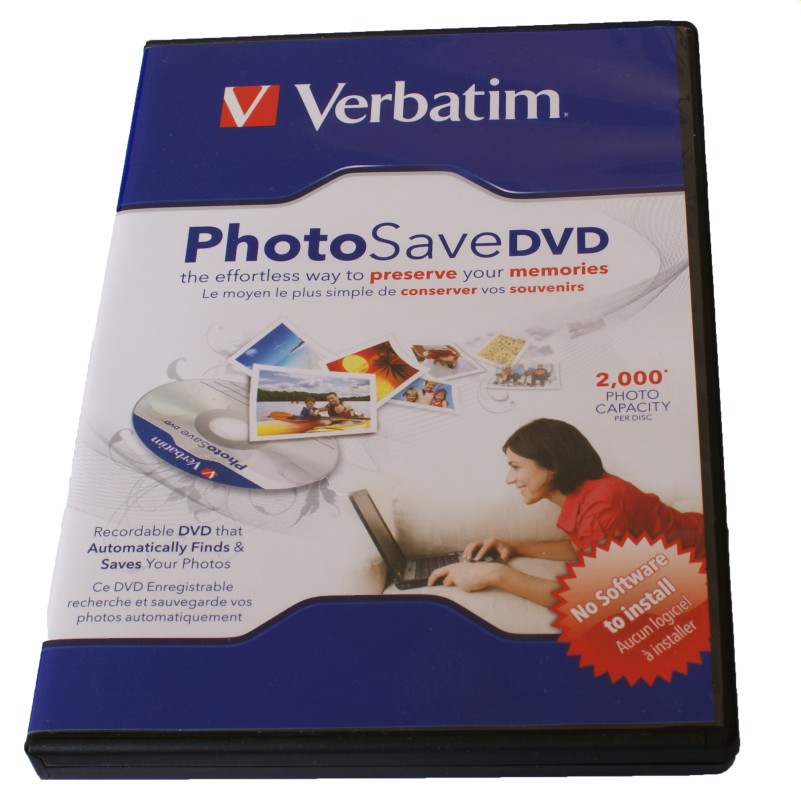
I don’t remember how long time ago Verbatim released its nice tool for Windows beginners worldwide, but my first look at this DVD was about a half year ago. Verbatim PhotoSave DVD is a special blank 4,7 GB DVD medium which contains a backup software for the photos and other pictures in your computer. As it works with three clicks, it is ideal for the beginners or for not so advanced users.
So how it works? It is very easy. Just buy your Verbatim PhotoSave DVD and put it to your burner. The autorun should start immediately.
Step one: language and copy options
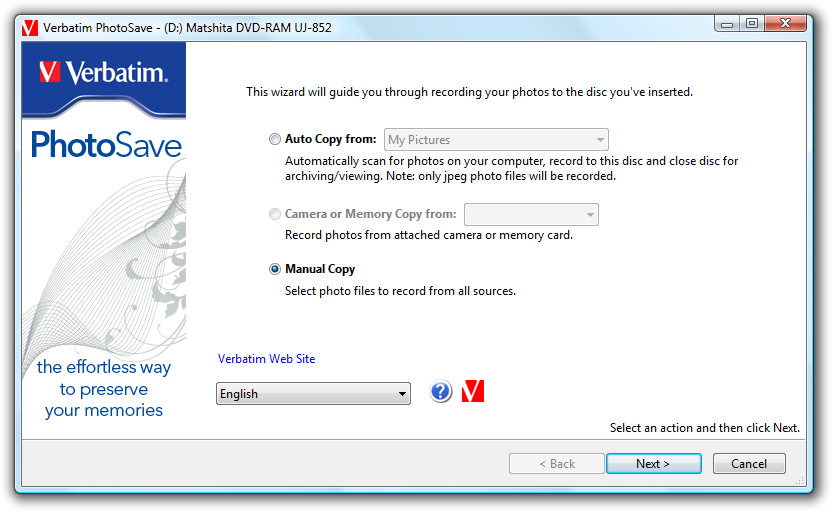
As soon as the autorun starts from the Verbatim PhotoSave DVD, you can select your interface’s language in the listbox. Now you have two (three) options:
- Automatically copy all your photos to the DVD from the My Pictures folder or from the whole system disk
- Manually select the folder where you would like to copy your photos from.
- The third (or middle option) is to copy your photos from the Camera or Memory card if you have attached them before running the Verbatim PhotoSave DVD’s autorun.
If you have selected the AutoCopy option, the Record button will appear and you can click it to start backing up your photos to DVD. In other cases you can click the Next button to manually select your photos.
Verbatim PhotoSave DVD
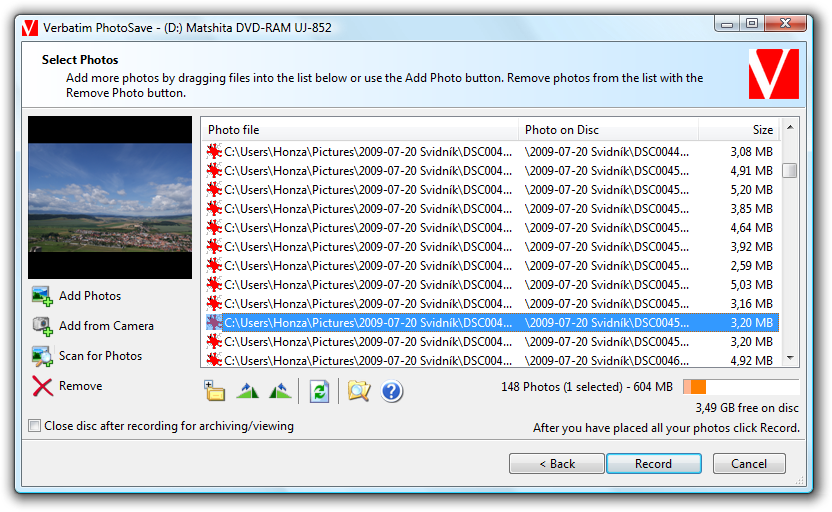
Step two: select the photos
In this step you can select photos and folder you would like to backup. Just click the Add Photos button and the Open dialog will appear. You can add the photos to the backup using it.
Verbatim PhotoSave DVD
Step three: burning your backup
The last step is to burn your backup with selected photos to the DVD. Just click the Record button and wait a while. The recording wizard checks the remaining space on the DVD as you can see on the previous picture.
Verbatim PhotoSave DVD
The Verbatim PhotoSave DVD is a ideal tool for beginners who would like to archive their photos to DVDs and haven’t enough knowledge to use any of the popular backup tools on the market.
I find it quite useful, but the advanced users will found a few disadvantages – at least one. It is very hard to organize the photos on the DVD in an easy way. The photos are burner with their folders, so the directory structure is the same as in the hard disk location. The advantage is that you can backup more times until the DVD is full.
Tip: If you are looking for tutorials about taking and editing photos, check our sister website running at www.photohowto.info.