One of the possibilities how to keep your data safe and backed up is using some kind of online service providing backup solution. Acronis is one of them and if you are willing to pay for it, it provides fast and reliable solution. This article describes how to install the client and configure your backup.
Backing up your data online has a couple of advantages some of you might find useful. Technically you need to have working internet connection to both back up and access your data; on the other hand you don’t need to worry about drive media, where you are and what device you want to have backed up.
As mentioned earlier, the paid subscription is necessary to use this software, so if you have it, this will provide step by step guide how to install the Acronis True Image Online client and how to set up and schedule your regular backup job.
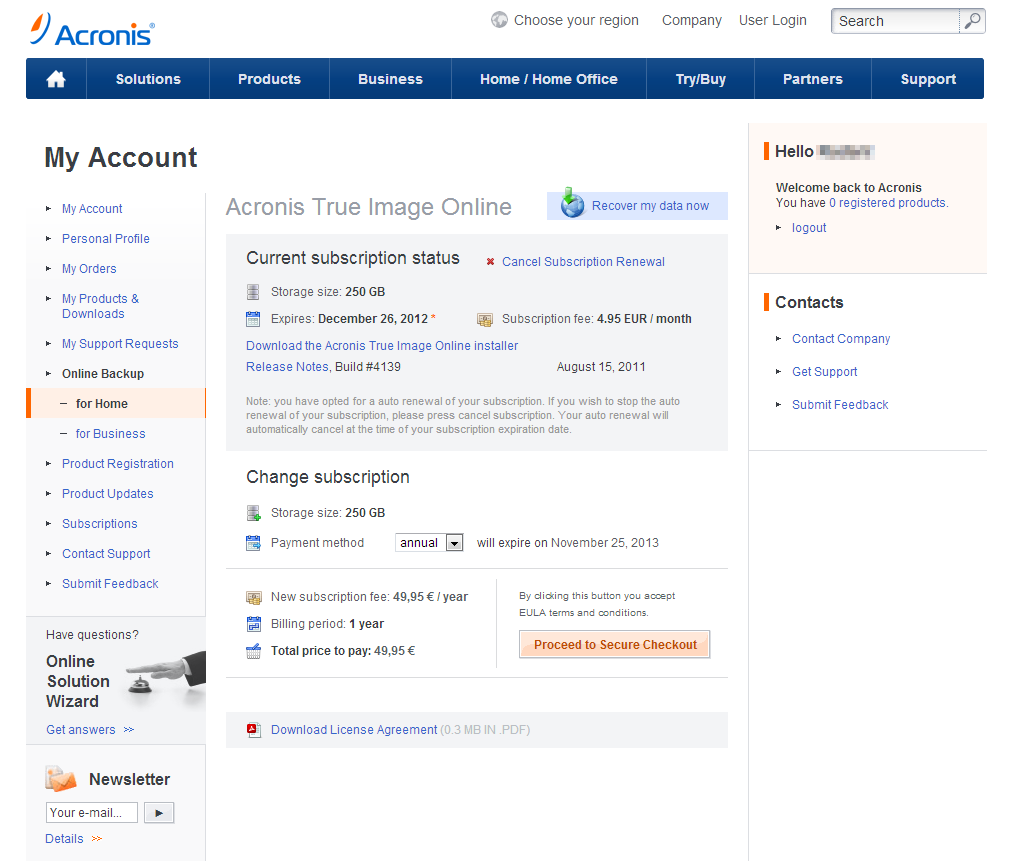
To download the client, just log in to the Acronis web page and go to the section Online Backup – for Home. On the new page click on Download the Acronis True Image Online installer. The application will immediately download to your computer.
Installing the Acronis True Image Online backup client
Next step is to install the client. Although the procedure is pretty straightforward, you might find some selections confusing – that is exactly this how-to is made for.
Run the installer and click on Install Acronis True Image Online. This will start the installation of the client.
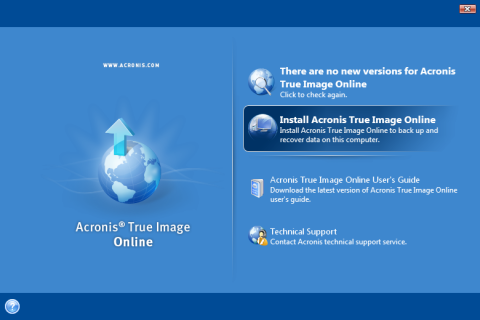
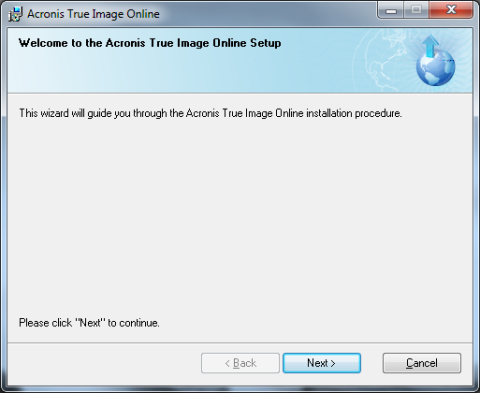
In the first dialog just click the Next button.
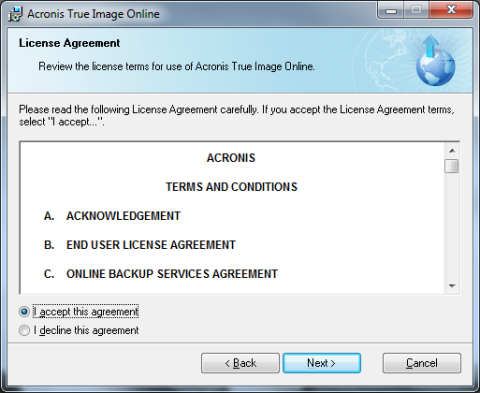
You have to accept the License agreement; just select the appropriate check box and click Next.
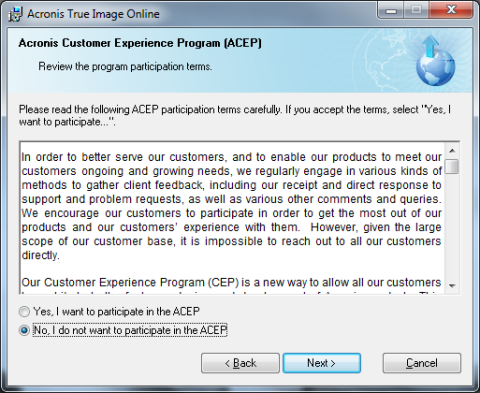
Next step gives you the option to participate in the ACEP – Acronis Customer Experience Program. In case you agree with that, you might select Yes, but you don’t need to.
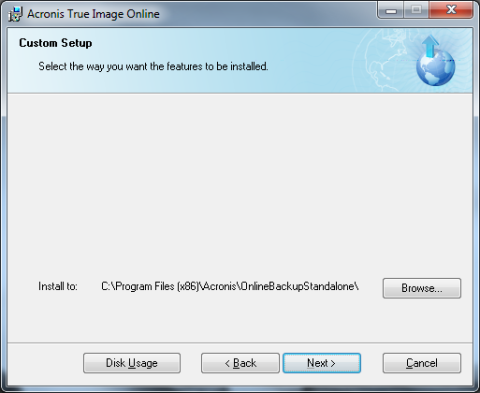
Now you can specify where the client will be installed. We would recommend to keep the default settings.
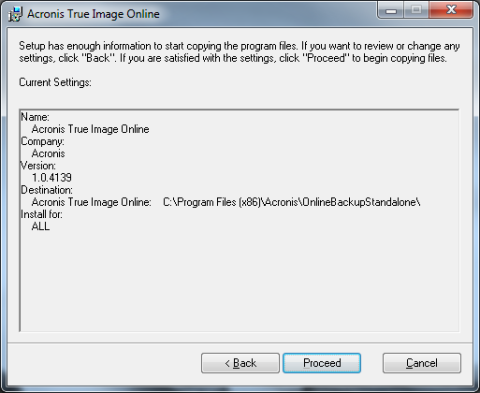
Review the current settings and click on Proceed button. The installation will begin straight away.
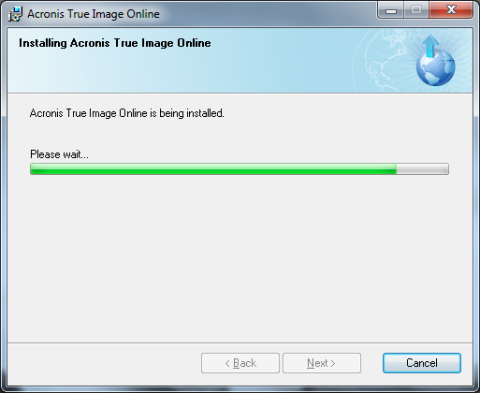
When the installation completes, just click on Close button to exit the installer.
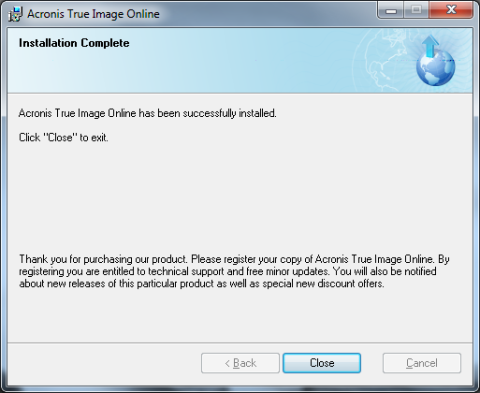
Now, when the installation is actually completed, it is time to configure your backup.
Configuring the client
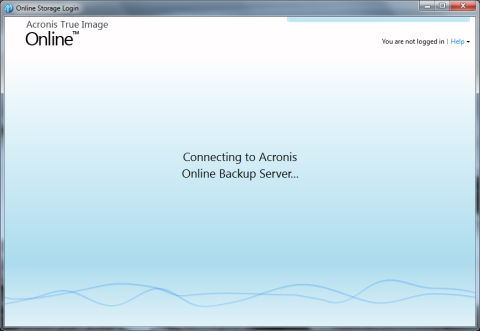
Go to Start menu and run Acronis True Image Online application. The new window will open and you need to enter your Acronis credentials to continue. The credentials are the same as you used previously on Acronis web page.
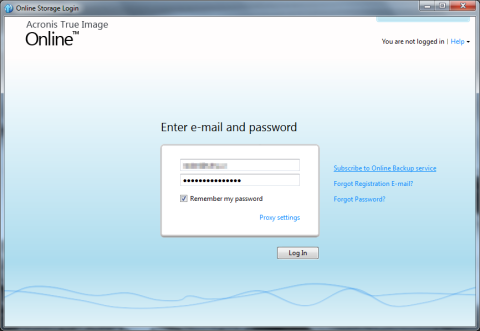
We recommend to select Remember my password option to avoid entering the same credentials over and over again in the future when making some additional changes to the configuration. When done, click on Log In button.
Now it is time to enter your computer information. Acronis will remember the computer you runs the client from. The best way how to do this is to enter your computer name (hostname) which should be unique.
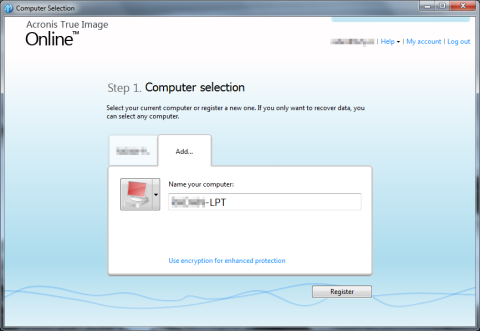
When you click the Register button, it will process your current configuration, create the appropriate space on the remote server and prepare everything necessary to proceed further.
Creating the backup schedule task
The most important part is to create the backup task with information what and when will be backed up. The default settings are on the following screenshot, however we strongly recommend to change it to reflect your actual needs.
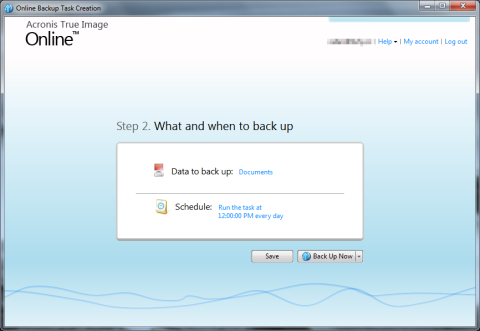
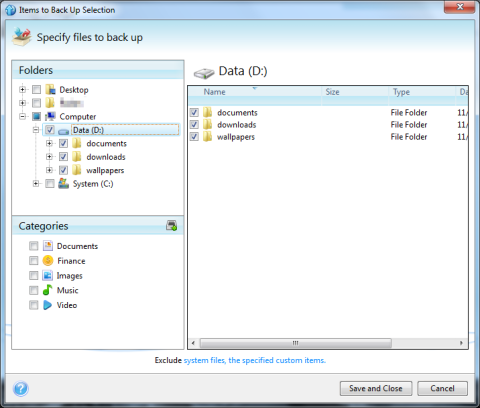
First step is to select what will be backed up. Just click on the Documents link – the new window will open and you will have the possibility to select all folders that should be backed up on regular basis.
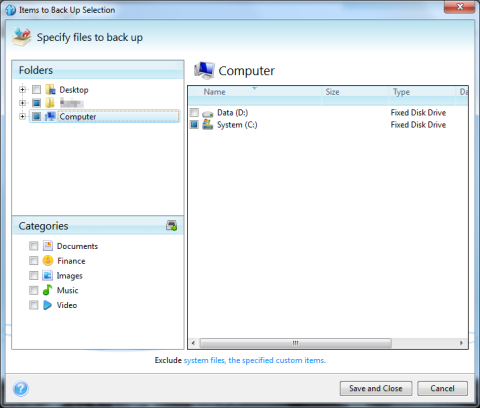
The result might look like this. Just click on Save and Close when you believe you selected all folders you want to have backed up.
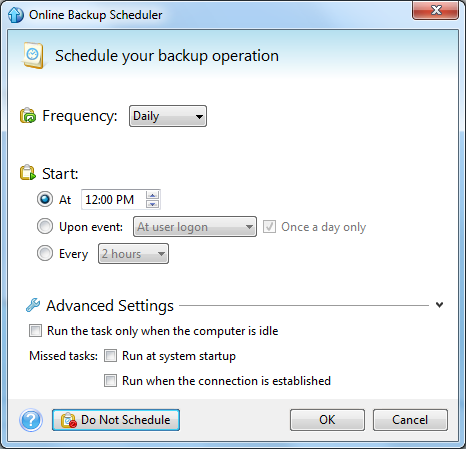
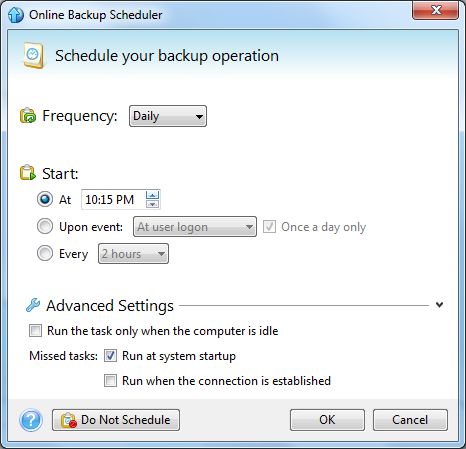
Let’s create the backup job – the time when your data will be backed up and the frequency. You can run your backup task daily, weekly or monthly, at any time you need. The best time would be probably sometime your computer is up and running.
The result might look like this.
Let’s review your current settings. According to what you configured earlier you will now see the window with information you specified. Click on Save button for the client to reflect your changes.
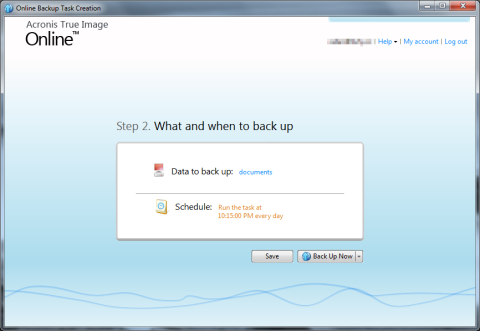
Now it is a good time to test your new backup solution by clicking on Back up Now.
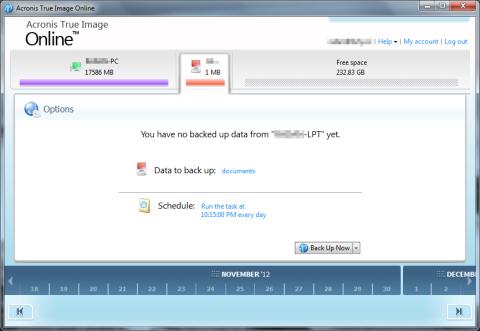
The backup task will start immediately and you can watch the progress bar.
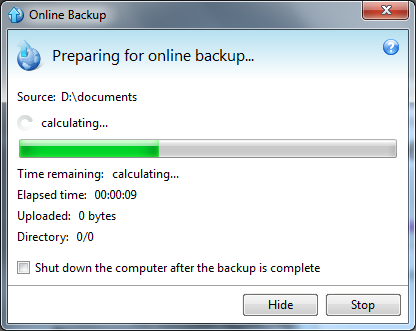
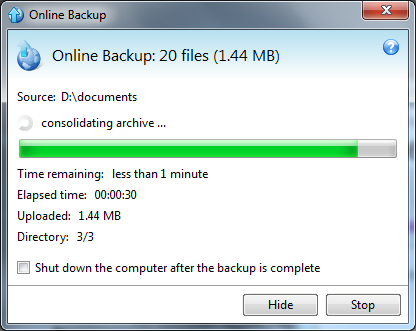
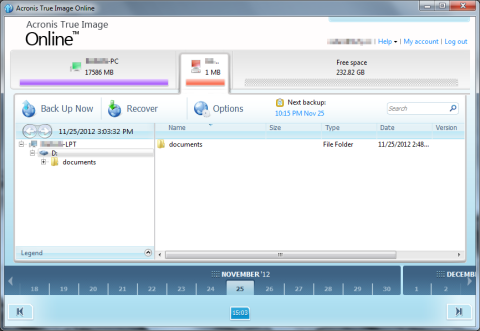
The progress window will automatically close when the backup completes. Now you can see all your folders that are backed up on the remote server and how much space is left for you to use in the future.