Backup with Handy Backup 6.0
The Handy Backup 6.0, new version of Handy Backup, has expanded a set of new features and general changes & released on January 24, 2008 by Novosoft. Handy Backup 6.0 is very easy to handle program, specially designed for corporate backup solution to take automatic backup of your important data. The backup can be taken to any media such as remote FTP server or CD or DVD ROM. Reserve copy of your backed up data can be kept on your system as reserve copy. Special features are added to the software using which you can take the backup of Microsoft Outlook, registry of system and ICQ files. Restoring the backed up data is as easy as clicking a button. The program also facilitates data synchronization between two network computers.
System Requirements for Handy Backup 6.0
- CPU Pentium processor or further(Speed 800MHz)
- RAM : 128 MB
- Hard Drive Space of 5 MB
- IE 6.0 or further
- WINDOWS VISTA/XP/2000/98
Backup with Handy Backup 6.0
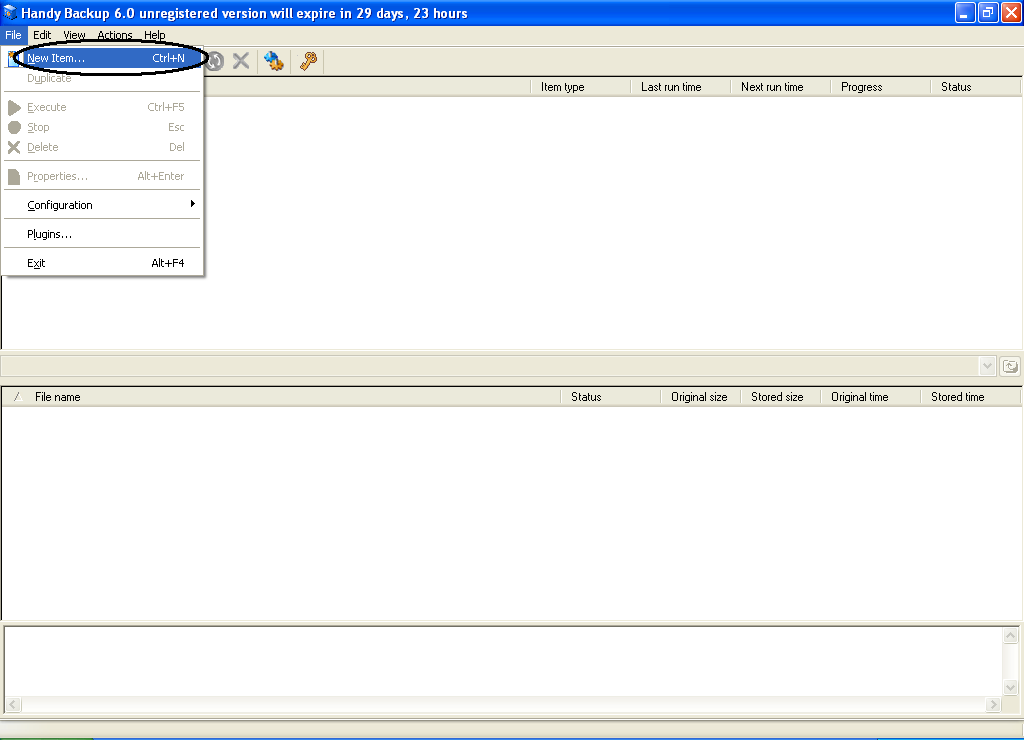
In the opening window of Handy Backup 6.0, select File option in the menu bar, in the drop down box of file option click on New Item as shown in Figure below;
Start with Backup
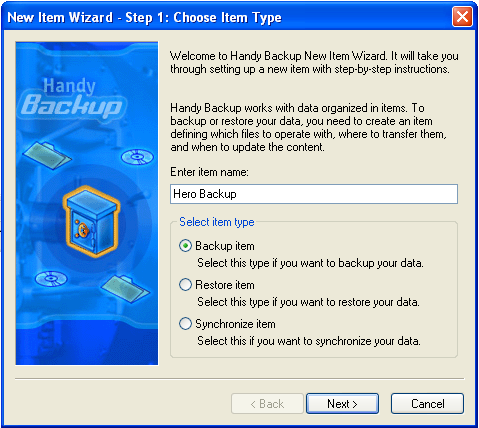
Step 1: Choose Item type
After New Item wizard gets open, create your backup file name, select item type and now click to Next, as shown in below image;
Items selection Window
Step 2: Specification of Backup Set
In this window click the Add command button the browsing window will open there select the item you want to backup and click Ok and then click Next as shown in screenshot here;

Select Backup Items
Step 3: Destination Selection
Select the destination where the backed up file must be stored and click Next as shown image below;
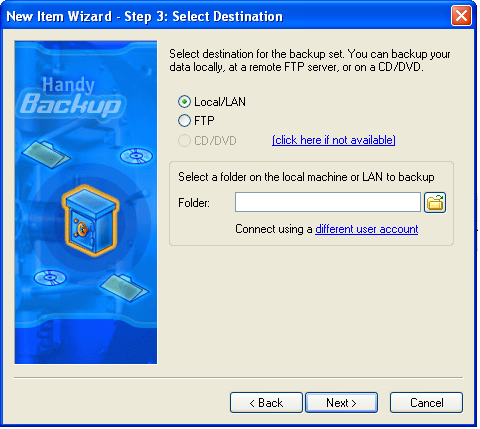
Destination Selection Window
Step 4: Advanced Backup Settings
This window will display the entire advance setting such as backup type, if you want to store the backed up file with a time stamp, and the file specific settings (Refer Image below).

Advance Backup Setting dialogue
Step 5: Compression and Encryption
In this window, you have to choose the file how it should be created. You can also encrypt the file or add a zip password for more data security.
Step 6: Scheduling
Using this software you can also apply the scheduler in case you have to take the backup of the destination selected every day or on any specific week day. After you click Next in the preceding window you will get overview of whole process click Finish over there;
In the main window the file will appear in the list as shown in image below. Select the file and click the Proceed Tool will create a backup file in the destination selected by you.
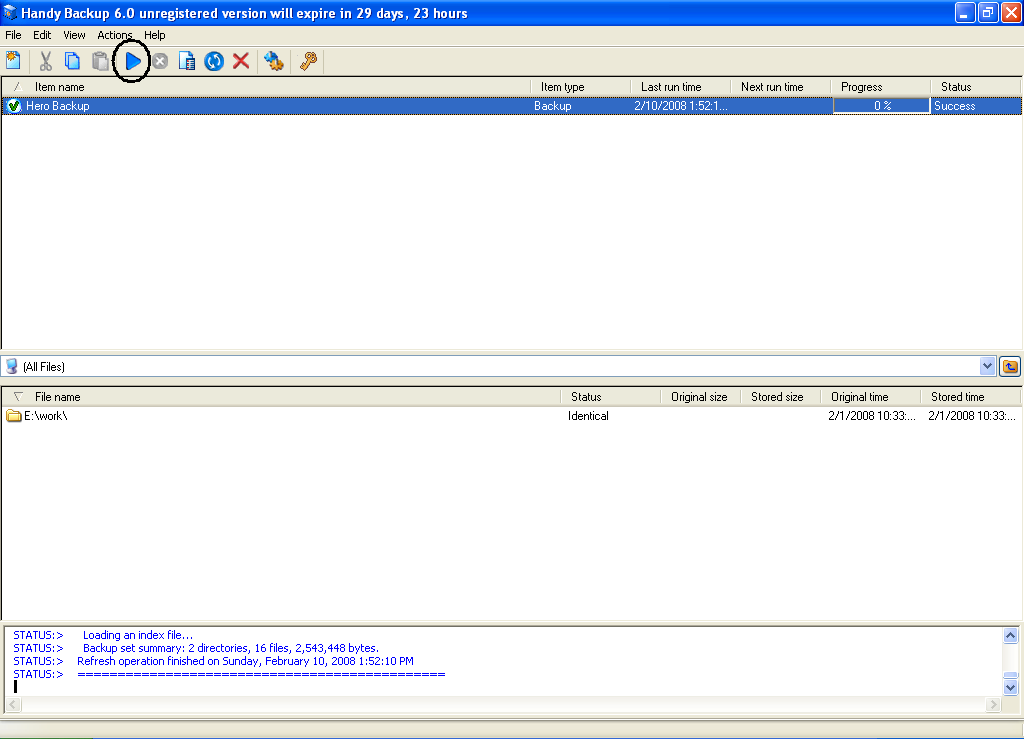
Preceding the Backup Process
Restoring the Backed Up files
Go to the destination where the backup file is stored, there you will get the Restore icon over there. After double clicking the restore icon the restore window will open and which is same as that of backup window. Here you have to follow the same 6 steps discussed above only this time the steps are for restoring the data.
In this way, you can take the backup using Handy Backup 6.0 with lots of advanced option available for saving your time.