How to backup your drive using DriveImage XML?
DriveImage XML enables us to backup complete drive or any partition which is logical. A complete backup image is created when you backup the drive. So you can backup your drive with the entire OS and restore it along with the registry, system files. Also you can extract individual files by opening previous backup by the image explorer tool. Also using the Volume Shadow Services for creating the backup images within the windows itself, so there is no need to reboot. As the images of the drives created are stored in .dat format, you can process these files with other applications.
Features of DriveImage XML
- Can backup any of the partition and logical drives to image files.
- You can browse the image files.
- Can extract and view files from images.
- You can restore the images created to different or same drive.
- Drive to drive coping is possible.
- Can schedule the backups as scheduler is provided.
System Requirements for DriveImage XML
- Runs only with WINDOWS VISTA/XP/SERVER 2003
- Drive must be initially formatted with NTFS or FAT 32/16/12
Backing up the Drive using DriveImage XML
In the opening window there are two options for you to select the backup option. Either you can click the link provided in the window or you can click the Backup command button in left hand bottom. The options available are shown in Fig.1;
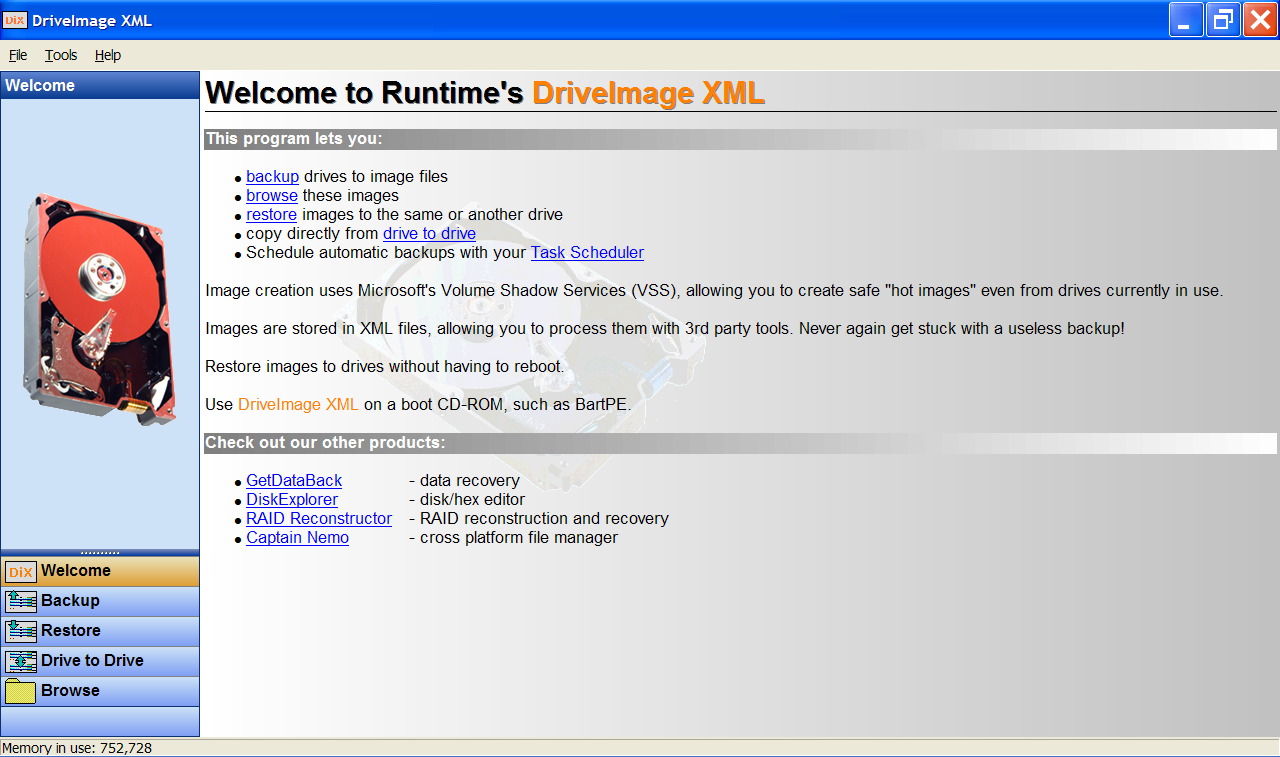
Figure.1 Opening Window option Selection
In the backup window opened you have to select the drive and click Next. As shown in Fig.2;
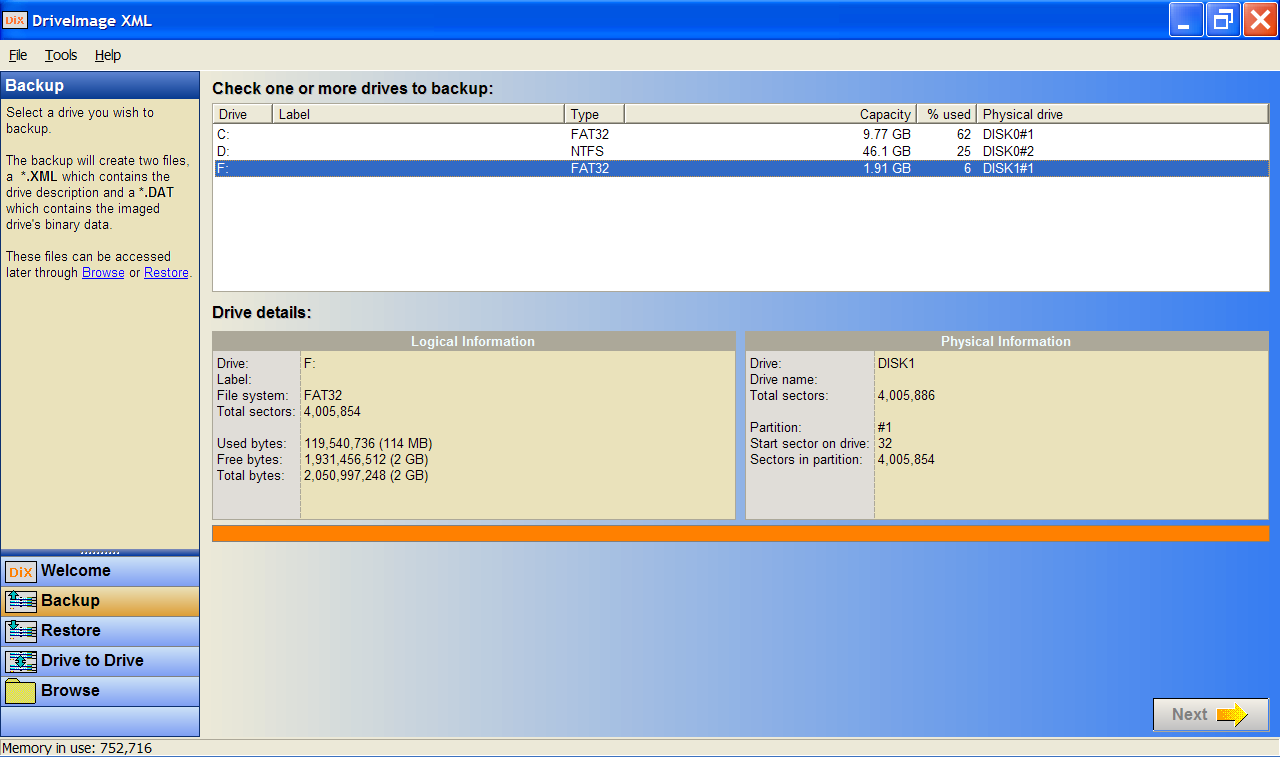
Image.2 Backup Window
When you click the next button then the whole details of the drive you selected will be shown to you. The details will be shown into wizard type window as shown in Fig.3. After view the details click the Next command button;
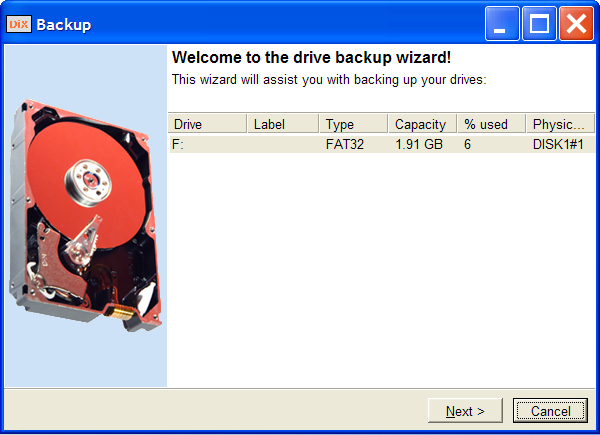
Figure.3 Drive Details Window
In the next window you have to name the image file you are creating. You can name the file based on date so that you can have the record. As shown in Fig.4. When you name and click Next you will be shown the backup progress bar and when the process is over you have to click Ok command button.
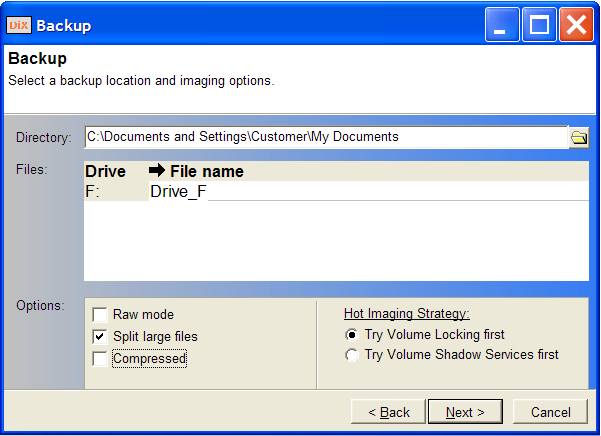
Figure.4 Naming the Created Image File
Restoring the Created Image file using DriveImage XML
For restoring the files you have to select the restore option from the window shown in Fig.1.After you select the option the restore window will be opened as shown in Fig.5 ;
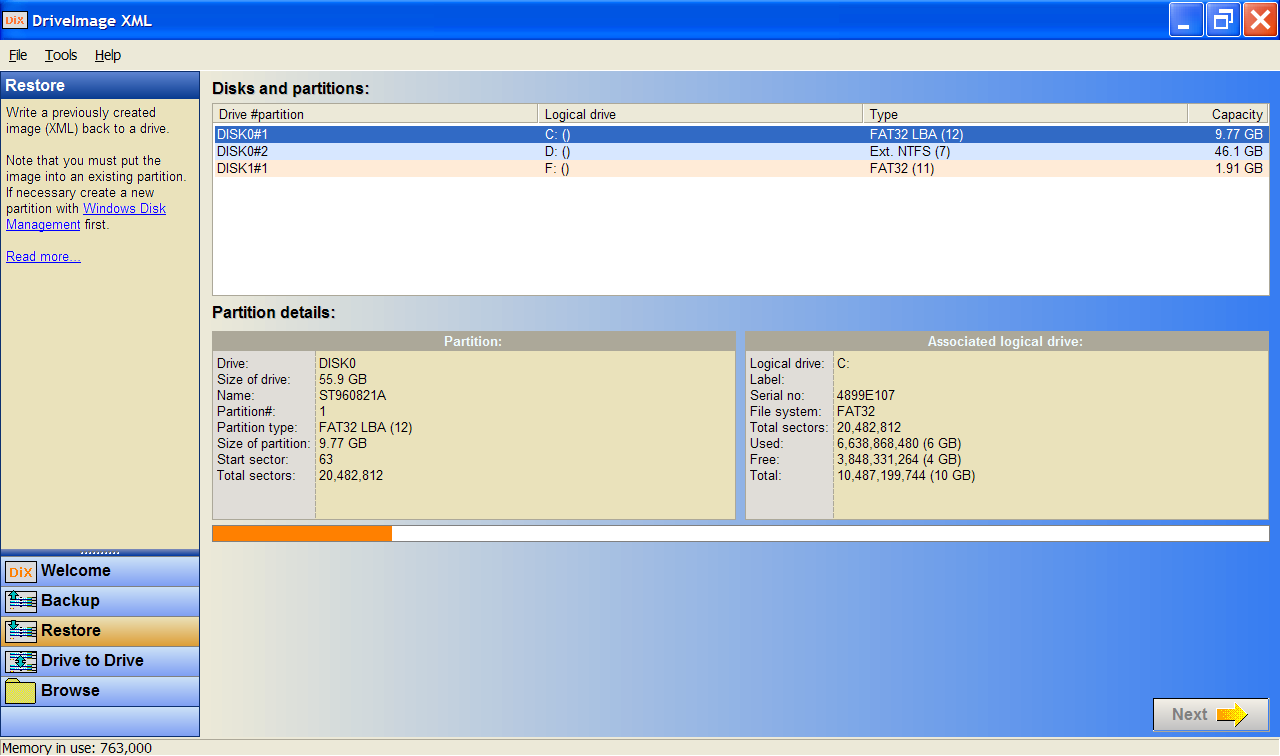
Figure.5 Restore Window
After you click next you will get the restore wizard where you have to browse the image file from the location where it is stored. As shown in Fig.6;
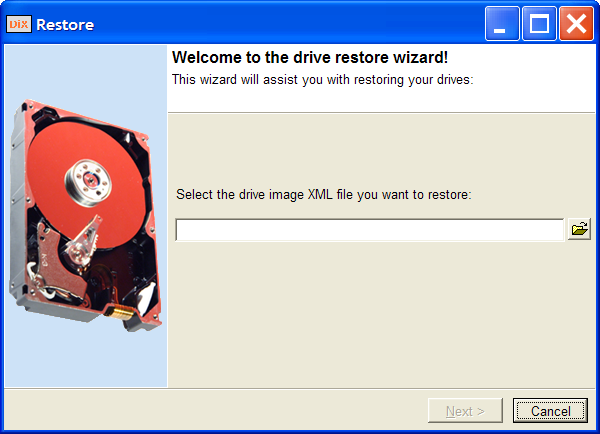
Figure.6 Restore Wizard
When you browse the image file then you will have to click Next two times. Then a warning signal will be displayed. There will be instruction given to you for execution of the restore follow that instruction. All your data will be restored to the original location.
DriveImage XML is a good solution when it comes to the whole system backup. The interface available is also user friendly. So any person can handle it easily.