Working with BLOGBackupONLINE
In my previous article I had discussed the procedure of taking backup of your blogs. But BLOGBackupONLINE is just not limited for daily backup of our blogs. There are additional features available too. This feature comprises of taking the full backup, viewing the blog content, using the permalink, viewing the history, sorting the list of comments given to the blog, exporting the blogs. The available features are discussed in this article.
1] Full Backup
Using this feature we can collect all the comments and entries of the blog along with the old entries which we can access through blog archive. This backup starts to crawl the HTML of blog by following the Archive and the Calendar. This backup make multi request to the blogging provider, this makes it compulsory to log on to BLOGBackupONLINE with your user name and password to run the full backup. Executing the full backup is a manual procedure and can’t be done automatically by scheduling. Also a single full back operation can be executed at a time. It is not required for repeated full backup operation, just once a time when a blog is registered is sufficient. The procedure of full backup is time consuming as the procedure takes place at the server of BLOGBackupONLINE. When a full backup is completed, you can view the time and the date of previous full backup the next time you login, refer Image.1;
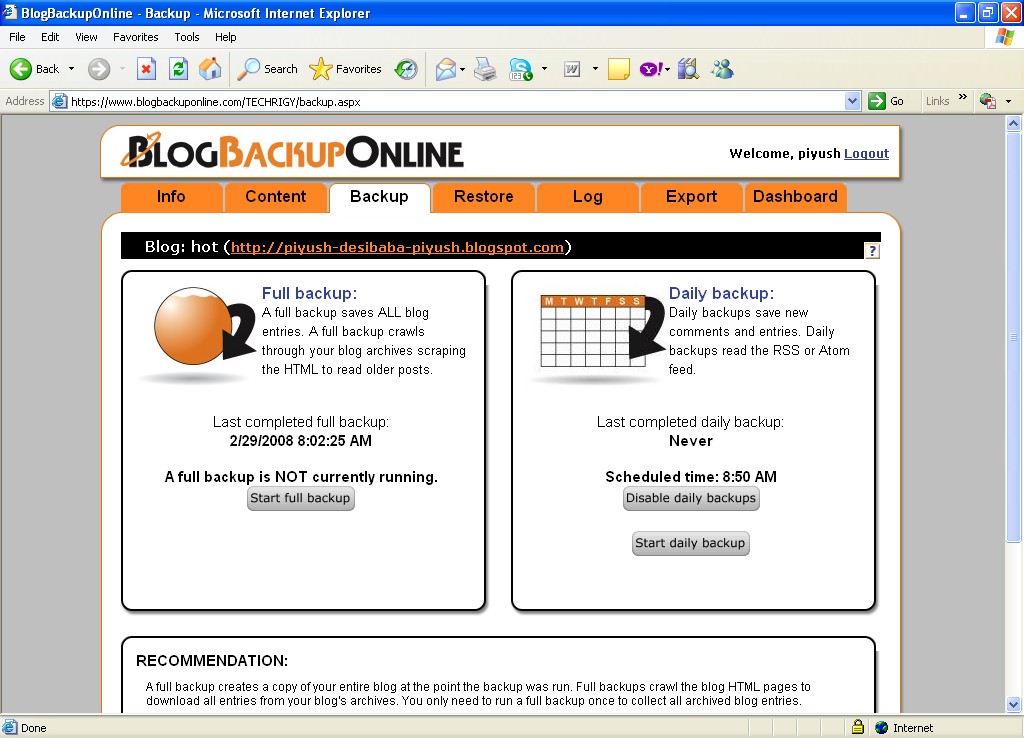
Image.1 Backup Tab
2] Viewing the Blog Content
There are times when you have to preview the content of the blogs before executing some operation on the blog such as deleting it, or taking the backup. So you don’t have to go to the link of the blog through IE. You can directly watch the content of blog through BLOGBackupONLINE web site only if your blog is registered on this website. This can be done through the content tab as shown in Fig.2;
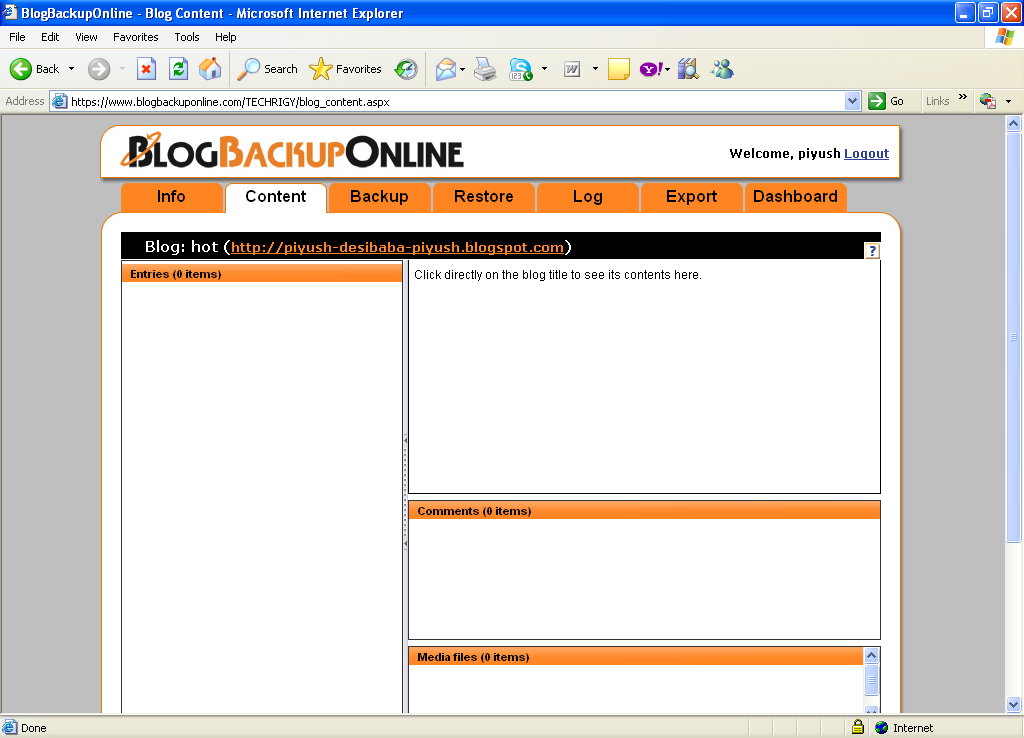
Image.2 Watching the Content of Blogs
3] Exporting the Blogs
If you require keeping the records of your entire backup on your PC so there is a Export Tab available in this site. Clicking which you can export the all blogs to your PC. Just you have to go to the Export tab and click the command button Download export file. If you are using Internet explorer as your default browser a dialogue box of file download will be open you just have to click save, and file will be saved to your selected destination. In short you can say the file is downloaded to your PC. If your default web browser is Mozilla Firefox then you will have to open the Export.xml file and click the button save to disk. The blog will be saved to your PC. The export option is shown in Fig.3;
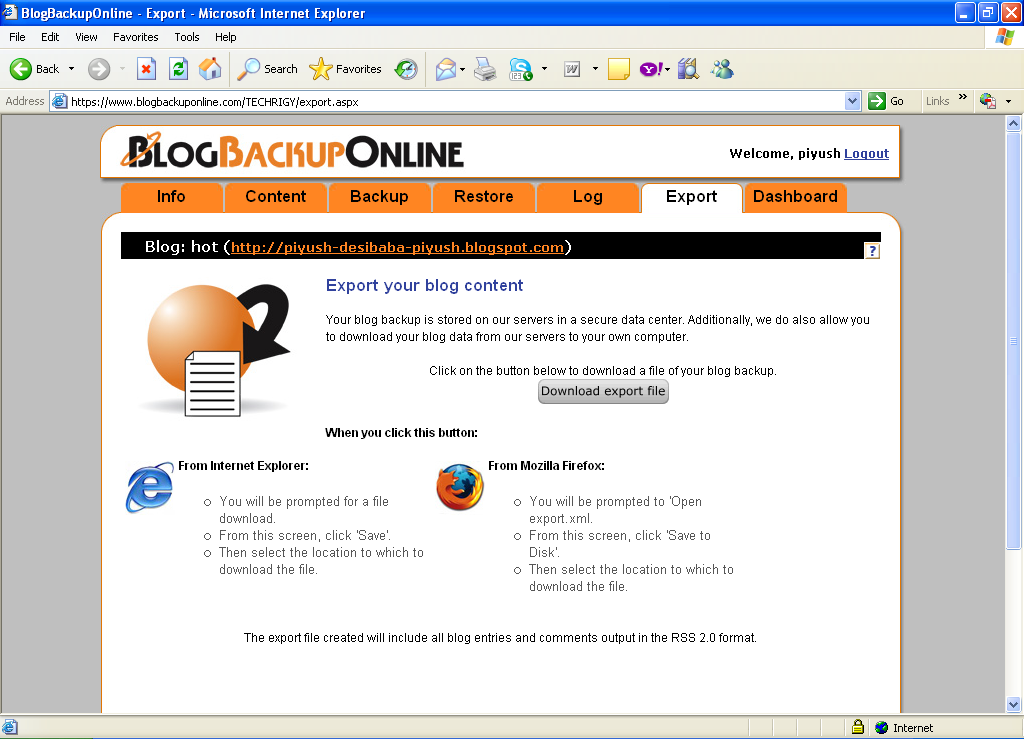
Image.3 Export Tab
Also the available space allotted to you for storing your blog is 50 MB, which I think is sufficient to store many blogs. In case all the space is used you can export the blogs to your PC as discussed above.
BLOGBackupONLINE is the best available solution for handling your blogs and securing them. So when it comes to blogs handling preferring BLOGBackupONLINE is the best solution.