How to take disk-to-disk backup using Arctor Disk2Disk Backup?
Arctor Disk2Disk Backup is very user friendly yet powerful software for taking the D2D backup of your data. It offers you with reliable and fast backup and also offers version management. The most important feature available with this software is that this software uses the most economical, efficient and reliable media hard disk for taking the backup. This software can also restore all your backup data in case of system crashes or accidental hardware failures. This software is also ideal for small companies for taking the backup of there important data.
System Requirements
- IBM compatible PC.
- RAM 64 MB or further.
- Hard drive space of 5MB.
- Sufficient hard drive size for taking your backup.
Taking the Backup
As soon as you double click the software icon the opening window shown below is opened. Window shown in Fig.1:
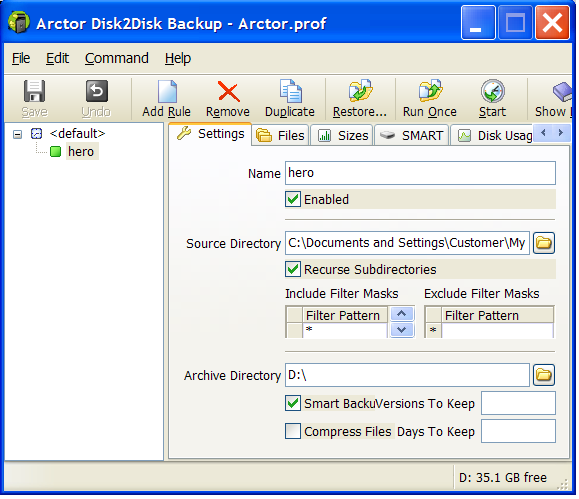
Figure.1 Opening Window of Arctor
In opening window name your backup operation as shown in Fig.2. After you name the operation don’t forget to check the Enable check box.
In the Source Directory as soon as you click the Browse command button, Browse For Folder dialogue box open. Select the file you want to backup in this box and click Ok. As shown in Fig.2;

Figure.2 Selecting the Source Folder or File
Now in Archive Directory you have to browse for the destination folder where the backup files will be stored. When all this finishes you have to click the option Run Once, shown in Fig.3. As soon as you click this option you will get a progress bar showing the status of the backup process. When the process finishes you can view the backup folders created in the destination you selected.
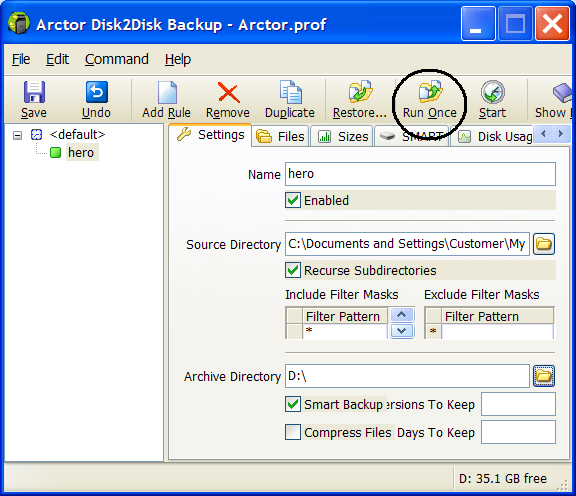
Figure.3 Starting the Backup Process
Restoring Your Data
For restoring your data select the Restore option in opening window. When you select the option the Arctor restore Wizard is opened, as shown in Fig.4;
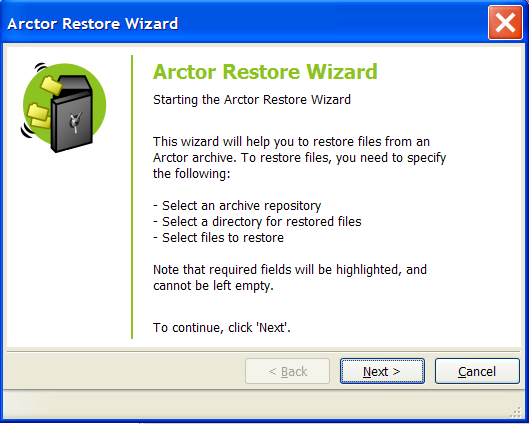
Figure.4 Arctor Restore Wizard
As you click Next in the wizard, you will be asked to select the Archive Directory, shown in Fig.5. Select the directory and click Next;
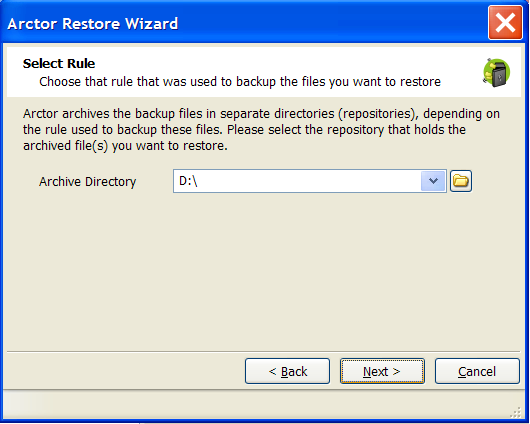
Figure.5 Selecting the Archive Directory
When you click next you will be asked to select the restore directory, shown in Fig.6. Select the Directory and click Next;
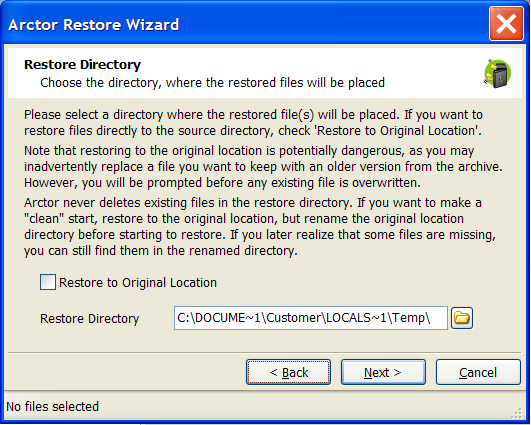
Figure.6 Selecting the Restore Directory
In the preceding option, select the file that you want to restore them back. Select the files and click Next, shown in Fig.7;
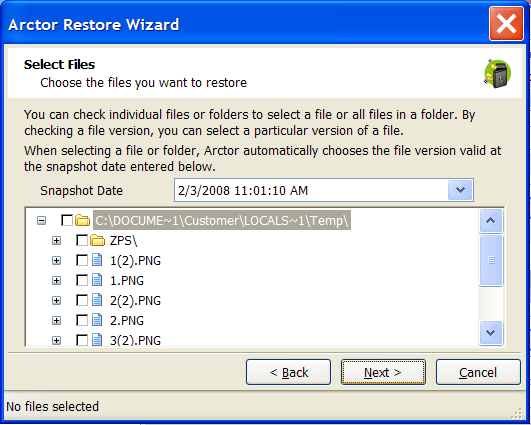
Figure.7 Selecting the Files for restoring
As soon as you click Next, Click Finish in the next window all your selected files will be restored to the destination you selected. Shown in Fig.8
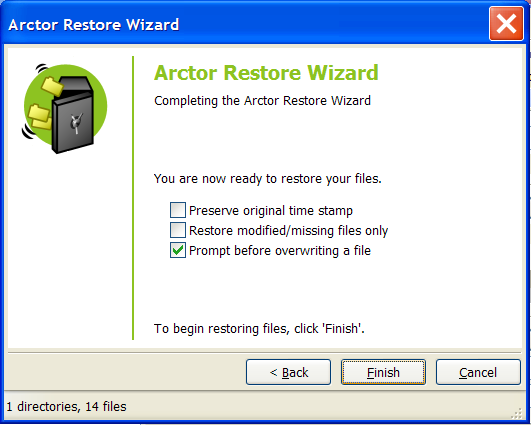
Figure.8 Finish the Process
Arctor Disk2Disk Backup is very useful software for taking a secure backup of your data.