How to take backup using DirSync 3?
DirSync is very well equipped backup software. This software contains Deletion Folder tool using which we can manage the files either in folder root or in the file hierarchy. The user interface provided is designed well and each option and feature has online help provided. The available program indicators are also attractive. The comparison mechanism available is equipped with CRC32 or time/date. The command execution is done at both times before the job execution and after job execution.
System Requirements for DirSync 3
- PENTIUM or IBM compatible computer with processor speed above 400 MHz.
- RAM 32 MB
- Hard Drive space of 5 MB.
- CD/DVD writer if the backup is been taken on CD/DVD.
Taking the Backup
In the opening window, at first you have to create a new job. Click the New command button at the top for creating a new job as shown in Fig.1. When you click the command button the Job Properties wizard is opened. In this wizard name the job in the Name text bar. The default location will be as shown in Fig.1.
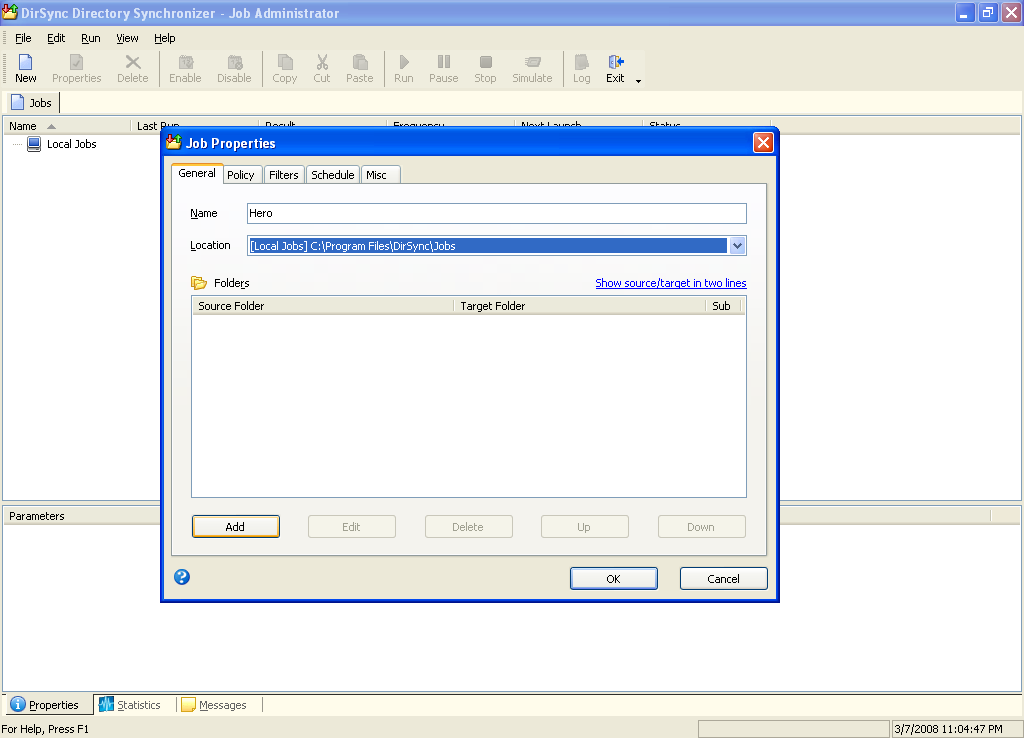
Figure.1 Opening Window Option Selection
When you name the job for adding the files to be backed up go to Filter tab. In filter tab click the Add command button. When you click the command button in the opening window you have to browse to the files. The process is shown in Fig.2. If in case you have to add schedule then you have to go the schedule tab shown.
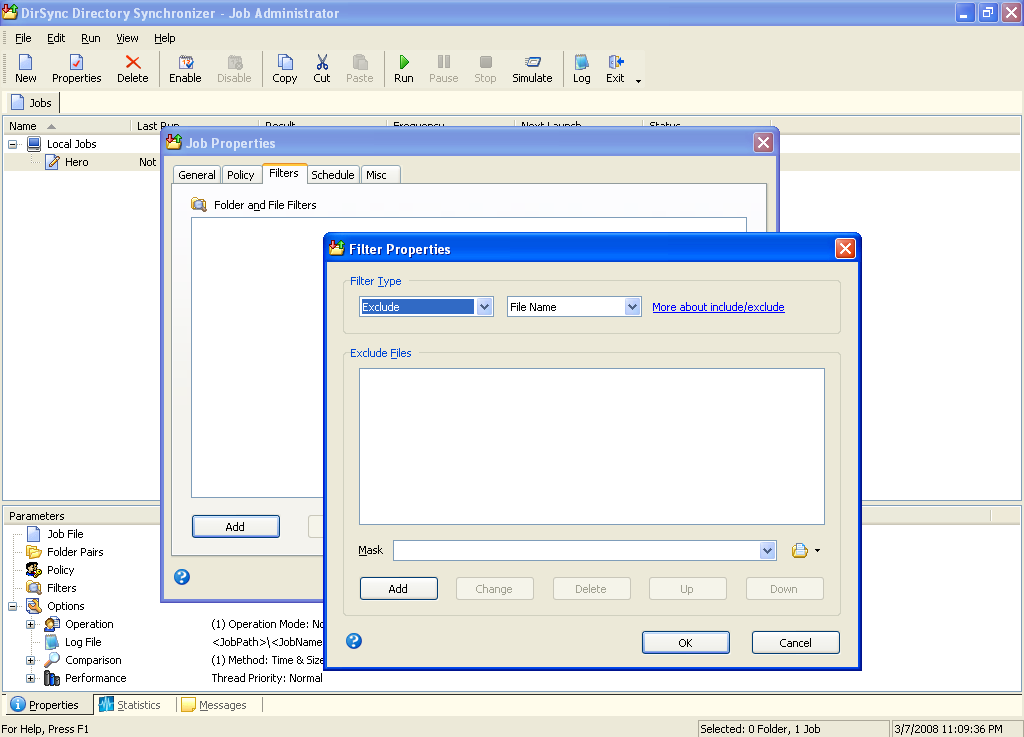
Figure.2 Including the Files
After all you have applied to the job just click the Run command button. The process status will be shown to you, as in Fig.3. After you run the backup a Zip file will be created at the destination. You can run the zip file using any regular WinZip program.
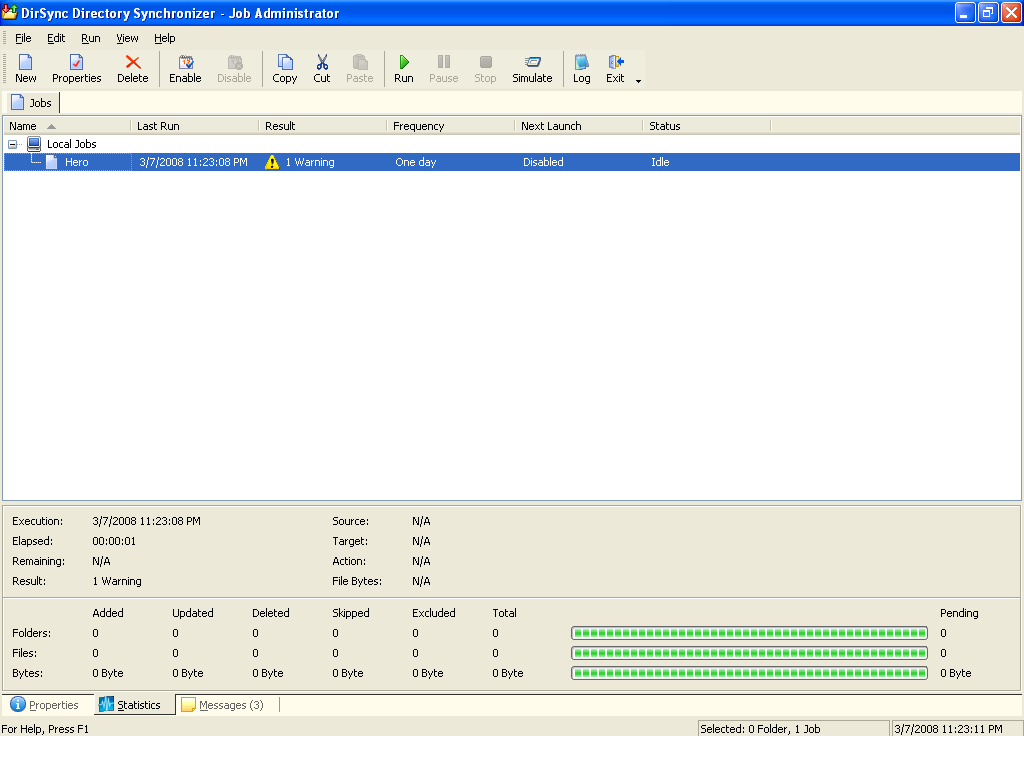
Figure.3 Backup Process Status
So the backup steps consist of just three steps. So using DirSync is very easy as the interface provided is very user friendly.