Taking backup using WinBackup
In WinBackup the backup jobs created are done using Backup Jobs. This Backup Job is type of template which guides the WinBackup which folder and file to take backup of. Infinite backup jobs can be created for all type of available data. You can select new backup job for each type of data and name the backup file as per the type of data. The created job just act like as a Macro. Each time you open WinBackup select the job with particular data you want to backup and the data is backed up.
System Requirements for WinBackup
- WINDOWS XP/2000/ME/98
- Hard Drive space of 10 MB.
- RAM 32 MB or higher
- PENTIUM processor with speed 400 MHz or higher.
Taking the backup of data using WinBackup
In the opening window at first the software will give you a tutorial of just how to go ahead with the software for taking the backup. You just have to click next for the next step as shown in Fig.1;

Figure.1Opening window
Further you have to create a new job by selecting the Create Job command button at the bottom. Then you have to rename the selected job you can name it date wise or the type of data wise. As shown in Fig.2;
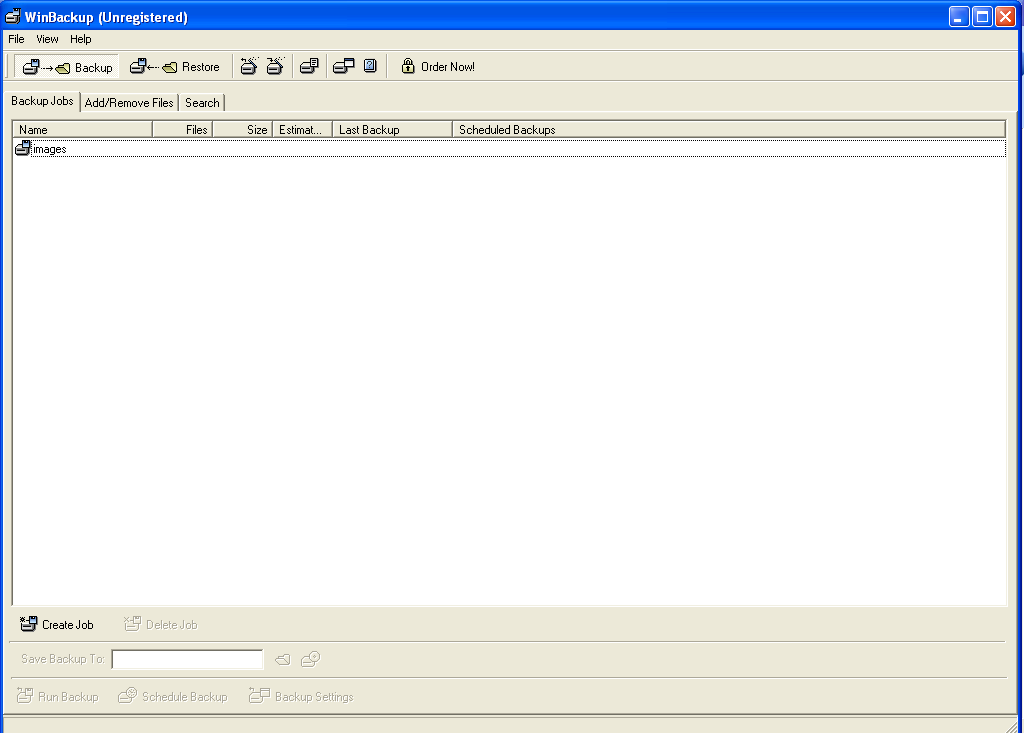
Figure.2 Creating New Job
After you create a new job you have to add the files to the new job from the Add/Remove files tab as shown in Fig.3;
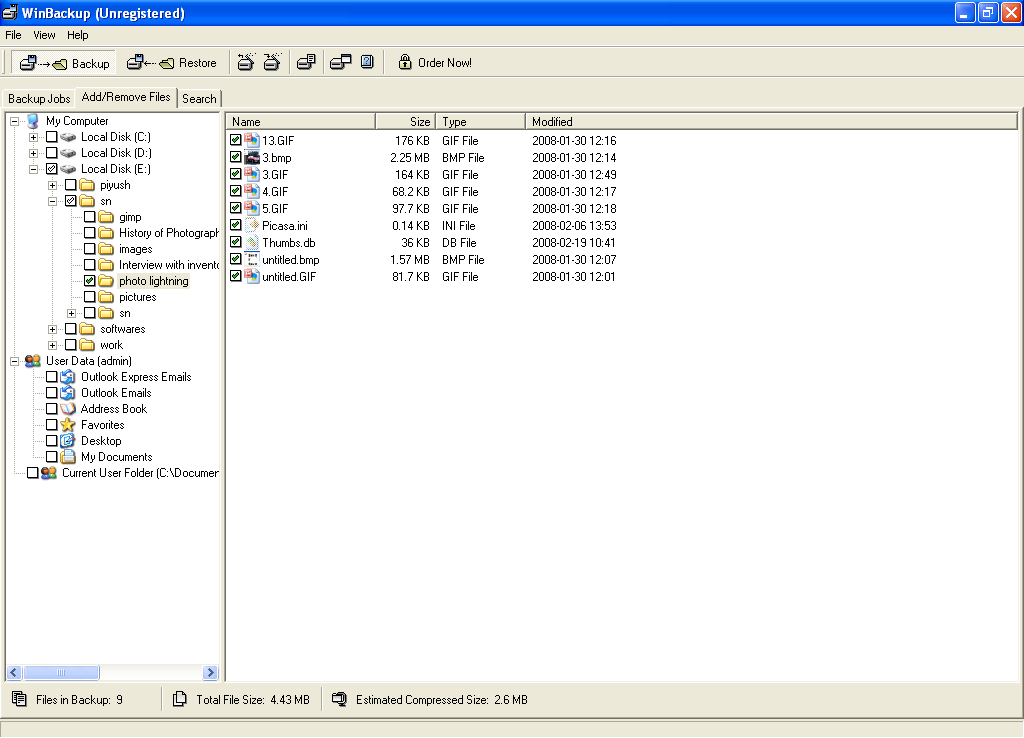
Figure.3 Adding Files to be backed up to Job created
After you select the files then again you have to go Backup Job tab and click the command button Backup Settings. There are various options available in this settings window. Select the options as per your requirements and click Ok. As shown in Fig.4. IF you want to schedule the backup you can do this from Schedule Backup command button at the bottom. After you are done, enter the destination path either by directly typing it or browsing it through the browse button provided, then click the command button Run Backup for taking the backup.

Figure.4 Settings Window Option Selection
Restoring the Backed Up files using WinBackup
For restoring the backed file browse the file to its destination in Restore From File the file will be highlighted in the list below, as shown in Fig.5. After you select the files just click the Restore Files command button at the bottom all the files will be restored at the original location or the location you selected.
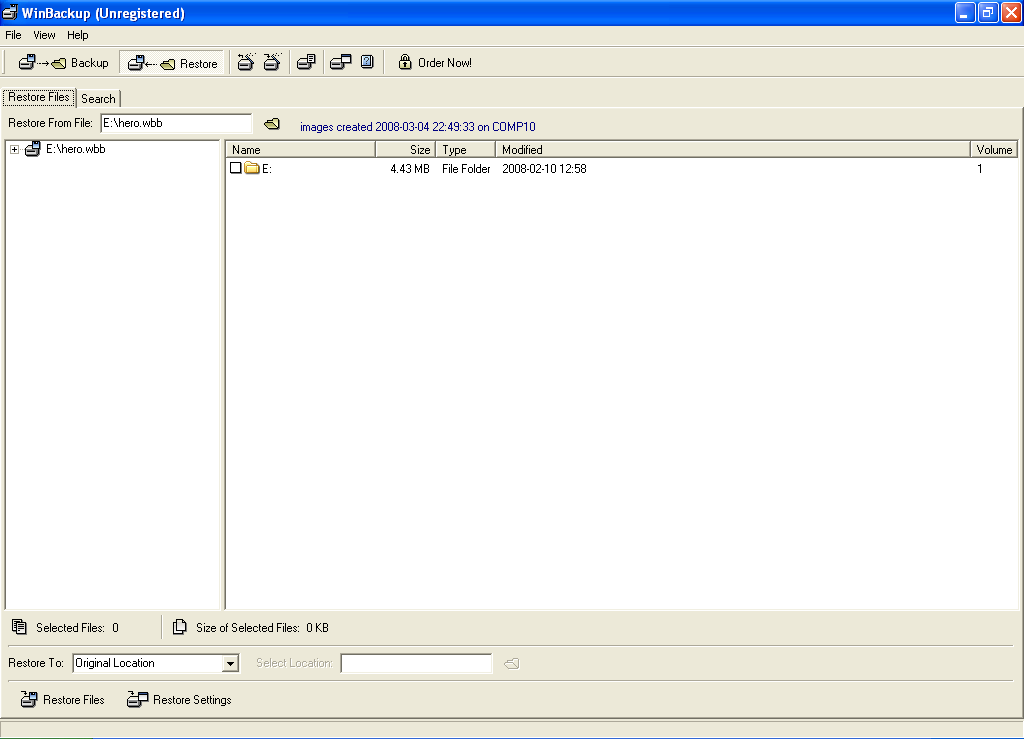
Figure.5 Restore Window
The tutorial at the start is the unique feature of this software provided by its interface. This saves our time we just can note down the steps or keep in mind and proceed. WinBackup is also very user friendly mostly due to the interface provided by it.